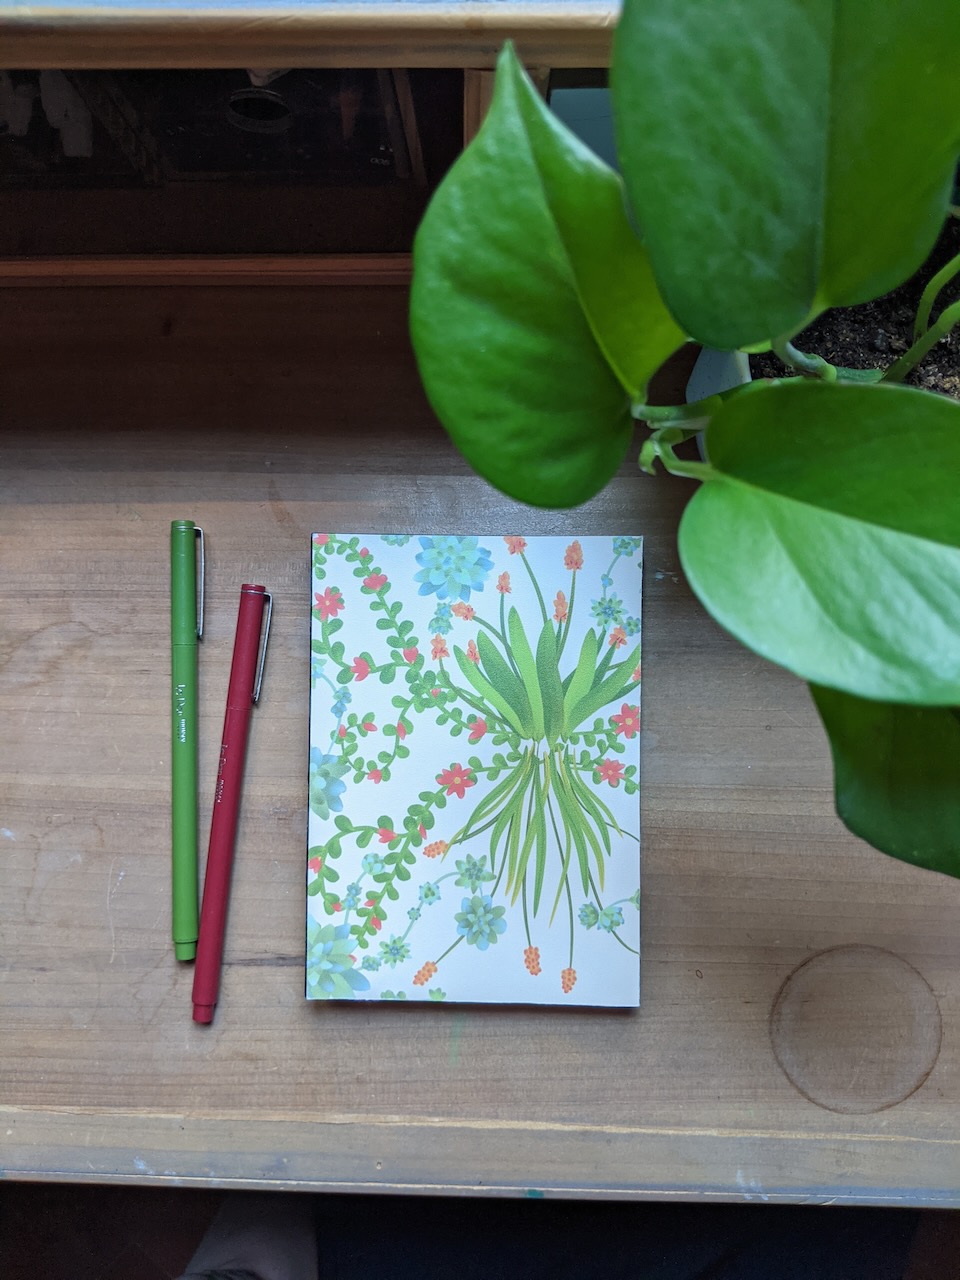
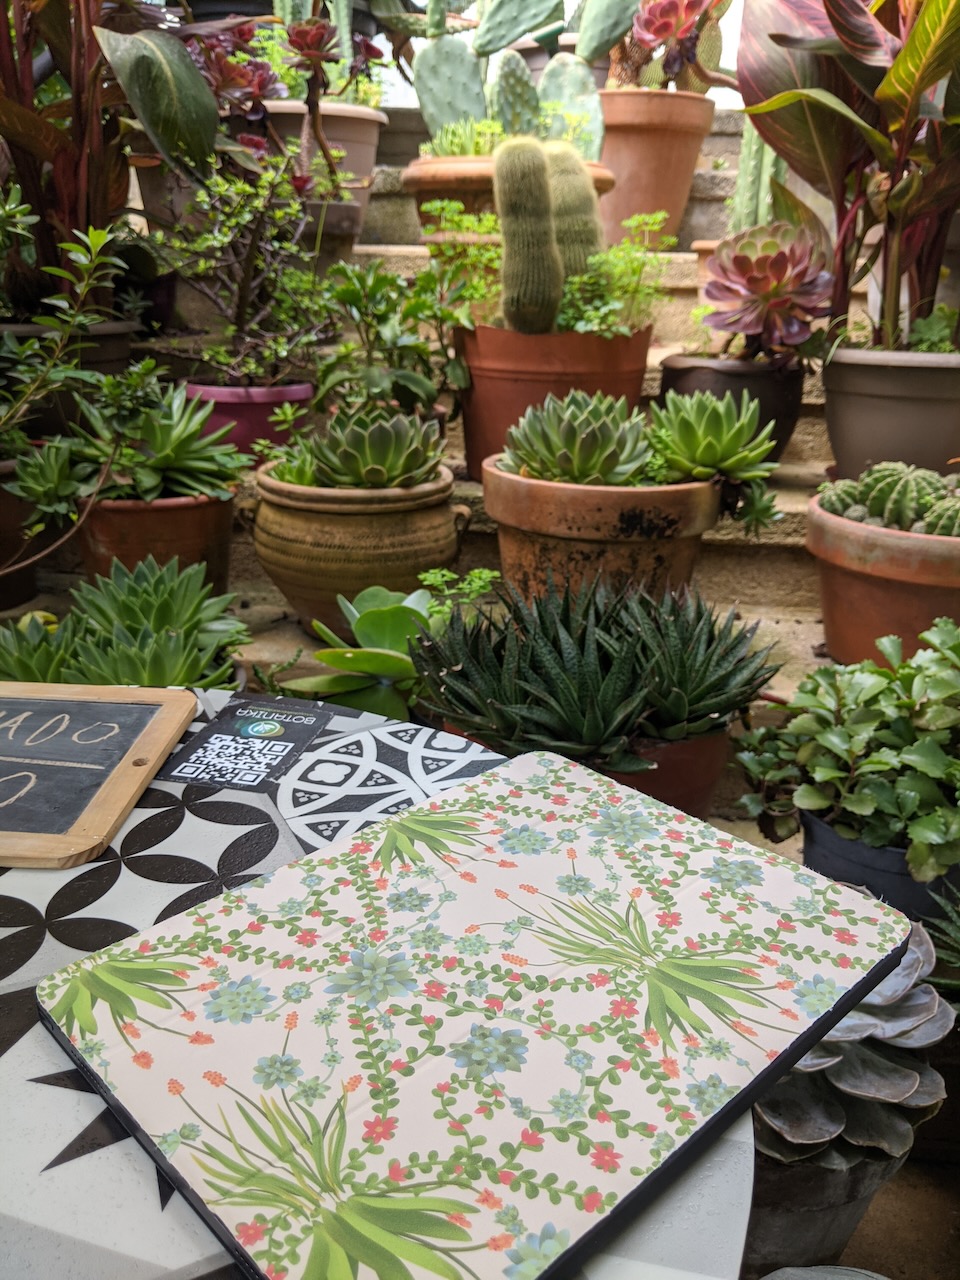
There's something about moving house that makes me look at everything with a more critical eye... and also makes me feel a bit liberal with my stash of art supplies.
After getting settled in to our new beachside apartment, I found myself looking at the furniture we brought, and thinking of ways to add some personality to the more plain pieces - and that's when I thought about my samples of Spoonflower's peel'n'stick wallpaper!
I've used these samples to cover books, phone cases, shelves, and iPad and Kindle covers...
...but after a bit of measuring, I realized I had enough to add splashes of pattern to one of my bookshelves: the oh-so-basic Ikea Billy.

I wiped the interior down with a damp cloth and let it dry thoroughly; while I did that, I marked the top and bottom of each shelf - this way, I could make sure that any overlaps or mis-fits in the wallpaper would be covered by the shelves.
I know my DIY style, and it works best when I've planned to cover up a few mistakes along the way!

Then, I measured, marked, and cut each wallpaper swatch to fit - the heights were perfect, and the width left enough for some flexibility.
I used Spoonflower's peel'n'stick wallpaper, which lets me easily place, re-place, and move around as many times as I need to. It also peels off without leaving any residue, in case I want to change out the patterns someday, or do an entirely different DIY project with the bookshelf later.
To make sure I got the wallpaper down straight, I peeled most of the backing off, squared the top left corner, then ran a straight line across by hand. Then, leaving some of the backing on, I used a straight edge (left over from a bathroom tiling project) to flatten it.
This not only helped the adhesive stick better than it would by using my hand, but also helped get rid of any last air bubbles or wrinkles (thankfully, since the wallpaper is quite thick and flexible, it already kept bubbles to a minimum).
As expected, there were one or two places where my measurements didn't square up the way I'd planned - but here's where the forgiving nature of peel'n'stick wallpaper comes to the rescue: without needing to peel up everything I'd installed, I could trim the excess with a razor blade and peel it away without affecting any of the materials underneath. In a few places, I also needed the blade to trim overlap in the corners... and again, it was so easy to trim and peel in place.
From start to finish, this project took me 1 hour - and my sad Ikea bookshelf looks so much more cheerful now, don't you think?
If you're interested in making your own home upgrades with peel'n'stick wallpaper, I've got a lot of designs available on Spoonflower - and they often run 20% off sales on wallpaper throughout the year - so if you join their newsletter, you can get some pretty great discounts when the next one comes around!
** This project was made with the "swatch" size, though if you've got a whole room to upgrade, they also sell wallpaper by the roll **
I've still got some swatches left over, so if you have any more project ideas, comment below and I would love to try them out.
Links to all the wallpapers used in this project (top to bottom on the finished bookshelf):
Pictured in swatches but not used in the bookshelf project:


Comments